Installing Kalpa Desktop

Although Kalpa is aimed at new Linux users, installation is unfortunately not particularly trivial since it is still an ALPHA version. However, once it is set up, even your grandmother can use it. This page describes the necessary steps on how to install and set up the system.
Preparing the Installer
- Download the openSUSE MicroOS image from here
- Burn the image to a USB stick that has at least 4GB of storage
- On Windows, use Rufus for this
- On Linux, I recommend Impression
- Note: Some users may prefer
Balena Etcher, however this tool is known for modifying the image - Warning: Make sure there is no important data on your USB stick, as all data will be deleted
Installing Kalpa
After the installer has been copied to the USB stick as described above, insert it into the target system where Kalpa is to be installed. Shut down the system if necessary, if it is still on.
As the device boots back up, press F1, F12, DEL, ESC to open the UEFI boot menu. Which key is responsible for this depends on the device and the installed UEFI.
The new Agama installer is quite simple, just follow the on-screen instructions.
Adjustments After Installation
However, there are a few things to adjust after installation for an optimal Kalpa experience
Adjusting SELinux Policies
Since Kalpa is not a server operating system, the default SELinux configuration is somewhat too strict. If you have not changed the SELinux mode to Permissive or have not completely disabled SELinux, please adjust the following rules.
Open Konsole and enter the following:
sudo setsebool -P selinuxuser_execmod 1
sudo setsebool -P selinuxuser_execheap 1
sudo setsebool -P selinuxuser_execstack 1
This is necessary because some applications will not work properly otherwise. Examples here are Steam, Wine/Proton, some native Linux games and probably more applications. Since it is not always clear that an application does not work properly due to SELinux, I recommend changing these rules to avoid SELinux headaches later. Apart from relabeling.
Install Language Packages
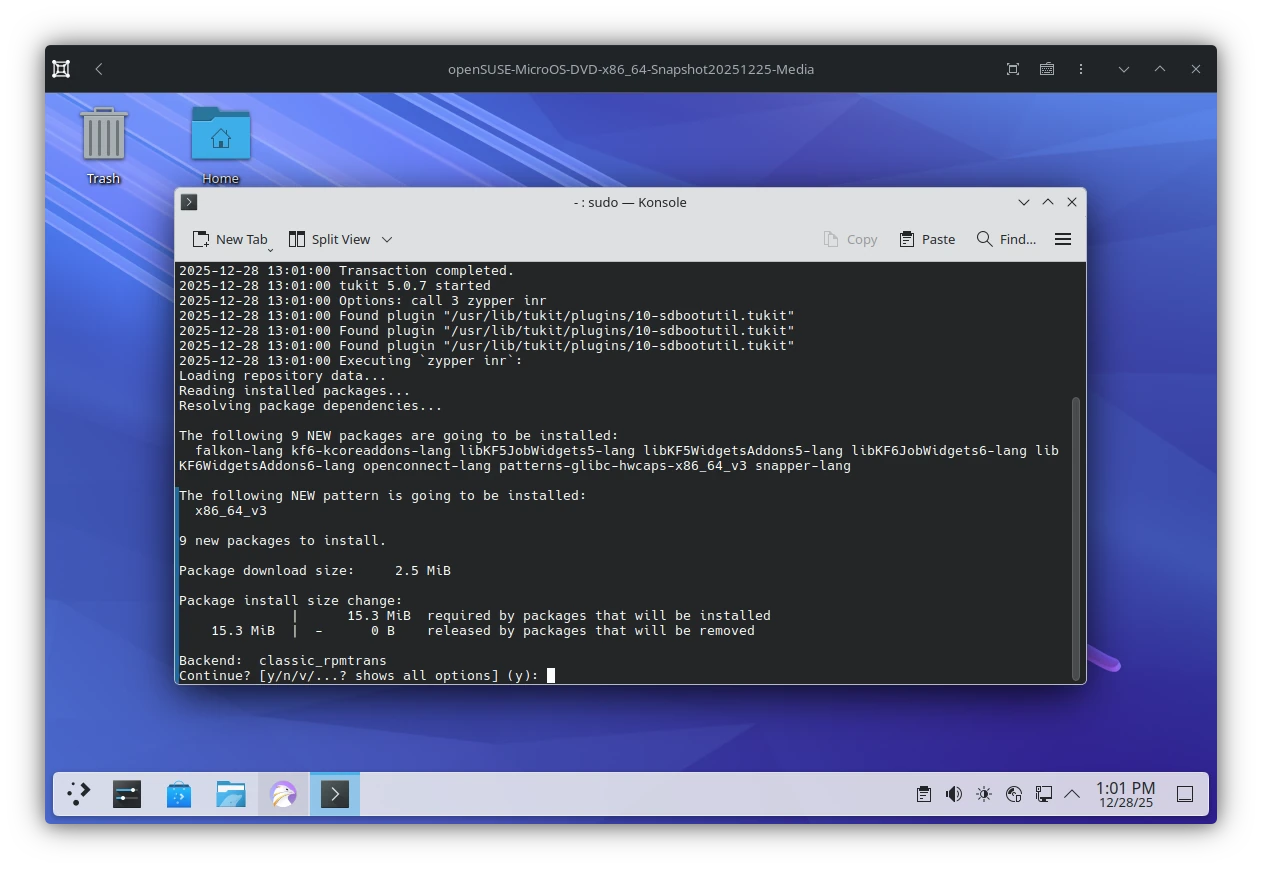
If your locale is not English (US), additional language packages must be installed. Regardless of what you selected during installation.
Open Console and enter the following:
sudo transactional-update -c run zypper inr
Press Enter.
Attention: This will install more packages than we actually want, to fix this enter:
sudo transactional-update -c pkg rm discover6-backend-packagekit PackageKit-backend-zypp
Press Enter.
Installing NVIDIA Drivers
To install the proprietary NVIDIA driver, restart your system once and then follow the official guide.
Changelog:
- 2026-07-15: Updates because of new Agama based Kalpa Installer. Many steps are now obsolete
- 2025-12-28: Initial Article